







Custom Coin Manufacturing Process
Custom coins move through a controlled sequence from concept to finished metal. The exact production method depends on the coin’s shape, relief, finish, color and specialty features, but the core workflow stays consistent.
Approved art becomes tooling, metal, finish and inspection.
The manufacturing path is a controlled sequence. Each stage carries the approved design forward so the final coin matches the intended size, relief, finish and detail.

1. Choose the coin construction
The first decision is how the coin should be manufactured.
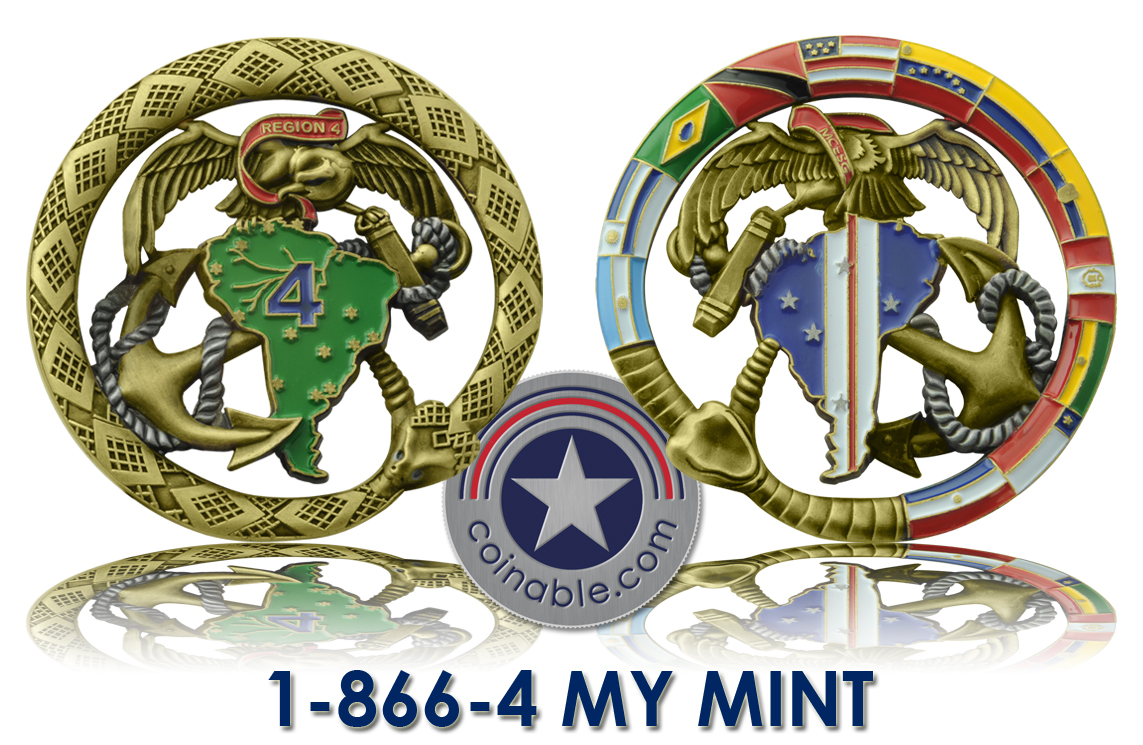
- Round die-struck coins are the traditional challenge coin route and are ideal for crisp raised and recessed details.
- Special-shape die-cast coins allow custom outlines, deeper sculpting and more complex dimensional forms.
Compare custom coin size and shape options
2. Build the production artwork
Artwork is converted from a logo, sketch, photo, previous coin or concept into a production-ready layout. This stage defines:
- Diameter and thickness
- Front and back artwork
- Raised and recessed areas
- 2D or 3D relief
- Text placement
- Enamel or printed color
- Metal finish
- Edge treatment
- Specialty features
Learn how custom coin artwork becomes production art
3. Approve the proof
Before manufacturing begins, the proof is reviewed for layout, spelling, dimensions, relief, finish and color callouts. Production follows the approved artwork, so this is the point to catch changes before tooling begins.
4. Create the die or mold
After approval, the factory creates the tooling used to form the coin. For die-struck coins, the design is cut into hardened tooling. Die-cast projects use molds suited to the selected shape and relief.
Tooling determines critical details such as line sharpness, depth, contour and dimensional form.
5. Strike or cast the coin body
The metal body is formed from the approved tooling. Depending on construction, the coin is struck under pressure or cast into the required shape. Excess material is trimmed and the coin body is prepared for finishing.
6. Apply plating and metal finish
The selected finish gives the coin much of its final character. Popular choices include antique gold, antique silver, antique bronze, shiny gold, nickel, shiny bronze, black nickel, matte finishes and two-tone combinations.
Explore custom coin metal finishes
7. Add color and specialty details
Where specified, color is applied using the selected process. Other features may be added during or after finishing, including:
- Soft or hard enamel
- Transparent enamel
- UV printing
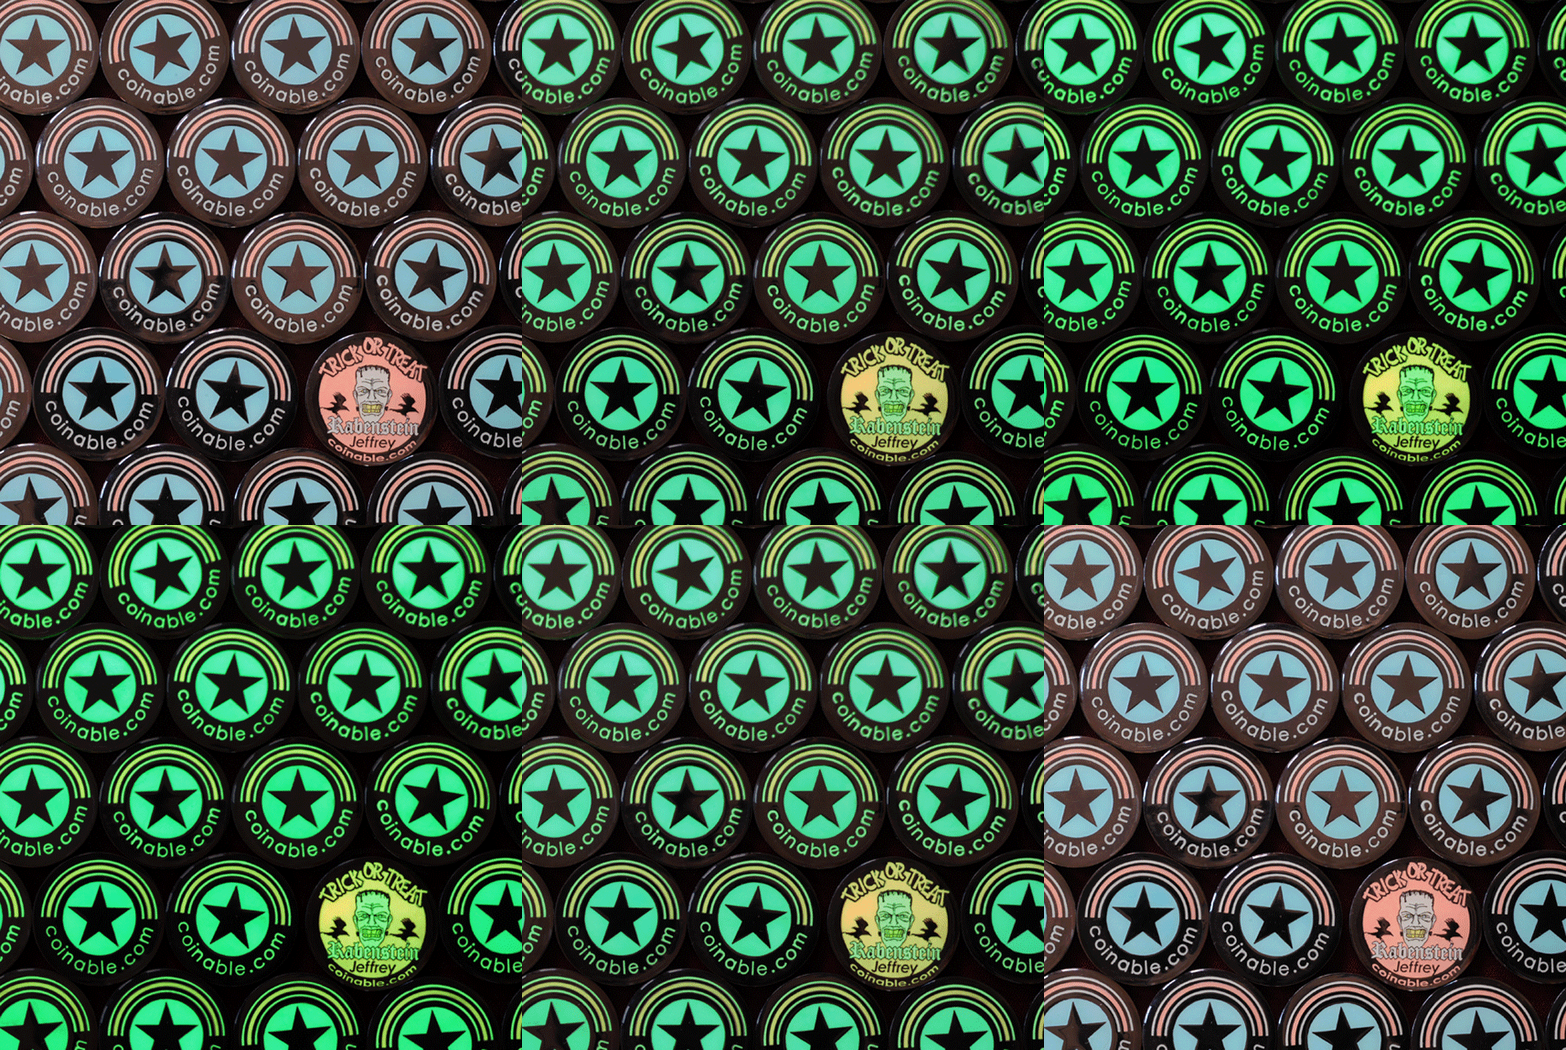
- Glow effects
- Epoxy coating
- Edge text or numbering
- Diamond-cut or rope edges
- Cut-outs
- Multi-piece assemblies
- Spinners or bottle-opener features
8. Inspect the finished coins
Finished coins are checked for consistency in plating, color, relief, text, assembly and overall appearance before packing.
9. Pack and ship the order
Once complete, the order is packed for delivery. Coinable’s current online pricing includes U.S. shipping for configured custom coin orders.
How long does production take?
Turnaround varies by project. Artwork approval, production method, specialty features, sample requirements, factory schedule and shipping all affect the final delivery date. Coinable’s Daily Delivery Calendar is the best reference for current timing options.
What happens on a reorder?
Coinable retains active dies at the factory for three years. If a coin is reordered within that window, the existing tooling may be used again, which helps streamline the reorder. After the retention period, die work may need to be recreated.
Start a custom coin project
Use the MINI BOSS – Custom Coin Maker to choose your starting size and production style, visit the Custom Coins FAQ, or read the Complete Custom Coins Design & Manufacturing Guide.